Translate

Friday, August 26, 2016

Friday Focus on Spellbinders

Hello again! A warm welcome to all of my crafty friends! I've been busy in my craft room the last couple of weeks. I'm back on this lovely Friday with some fun tips and tricks for creating this portfolio mini album using Spellbinders dies. I have a photo of the finished project here. For the full post and tutorial just click on the link and hop on over to The Frilly and Funkie Blog!


Thank you so much for stopping by! Wishing you a day of amazing adventures!

Hugs,

Wednesday, August 24, 2016

Floral Infatuation Challenge!


Hello! I'm so happy you're here today! I've got some exciting news to share with you. I'm beyond thrilled to be hosting our new two week challenge at the Frilly and Funkie Blog!!

Our theme, Floral Infatuation, celebrates the beautiful blooms of the season. The guidelines are super simple: create any vintage or shabby chic project with flowers as a focal point.

At the end of the challenge the team will choose their top four picks. Our first place winner will be invited to join us in a Guest DT spot at the Frilly and Funkie Blog. Three additional talented participants will receive badges to display on their blogs. Everyone who enters and adheres to the challenge guidelines will be entered into a drawing to win a $25 spending spree at The Funkie Junkie Boutique! For entry specifics and inspiration from my amazing teammates just click on the blog link above.

I'm craving pink for this project, and Maja Design's beautiful Vintage Summer Basics collection is the perfect choice. The design papers are distressed, layered, and stitched to form a base for the embellishments. Spellbinders Oval dies form a backdrop for handmade flowers.


The chipboard accent (a discontinued item from The Funkie Junkie Boutique) is dry brushed with Picket Fence Distress Paint.  


An old floral script rubber stamp has been brought out of storage for this card. The distress/stained effect is courtesy of Tammy Tutterow's Big Fabric Background Stamp.  


A rustic twine bow (above) for a feminine touch. The flowers (below) are handmade. I have a tutorial for these flowers on The Frilly and Funkie Blog.   


Here are a few photos of  the inside and back of the card. I like to finish them with design paper and coordinating stamping, leaving plenty of space in the center for a handwritten greeting. I also add a little pocket to hold a gift card, photo, or note. Here it holds a sentiment and a tiny tag.


Thank y'all so much for visiting. Now is the moment we turn everything over to you. We know you've got a great stash of flowers, so pick your faves and start creating! We'll be stopping by your blogs to get a close up view of your gorgeous art. Wishing you joy, laughter, and crafty adventures!

Hugs,

Tuesday, August 23, 2016

'Bygone Days of Summer' Card


Hello and welcome! I'm super excited to have the honor of sharing a new card with you and the Maja Design Blog

Today my card is very personal. It is an expression of the love I have for the exquisite, historic city that is my home, and a tribute beauty I see around me every day.


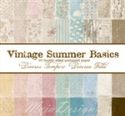
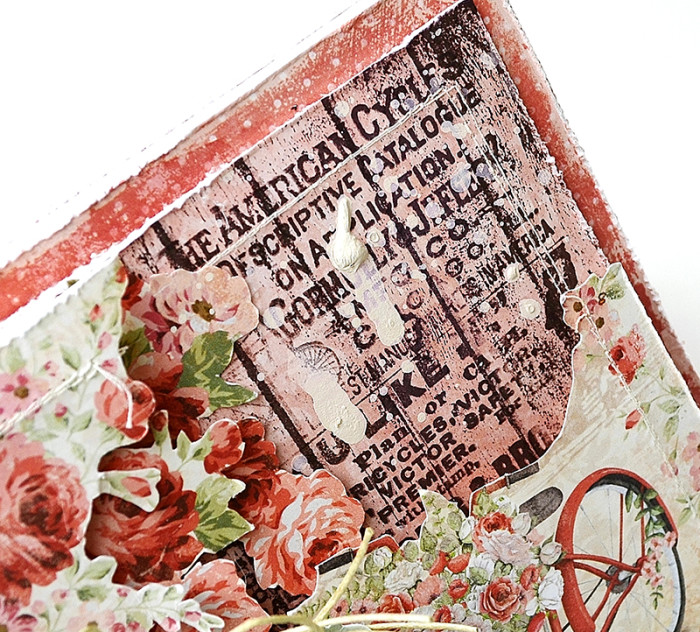
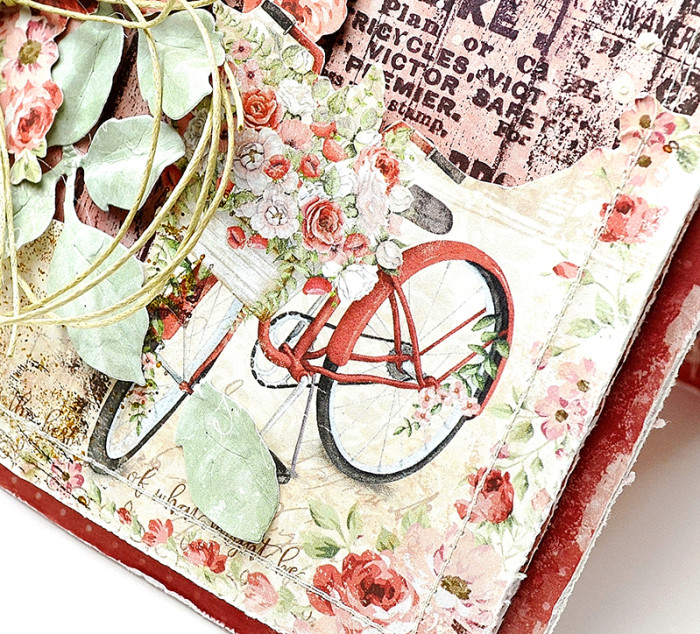
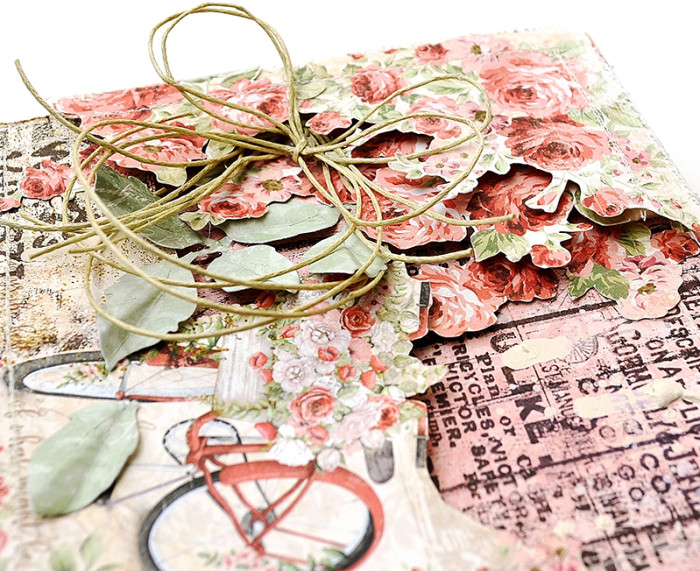
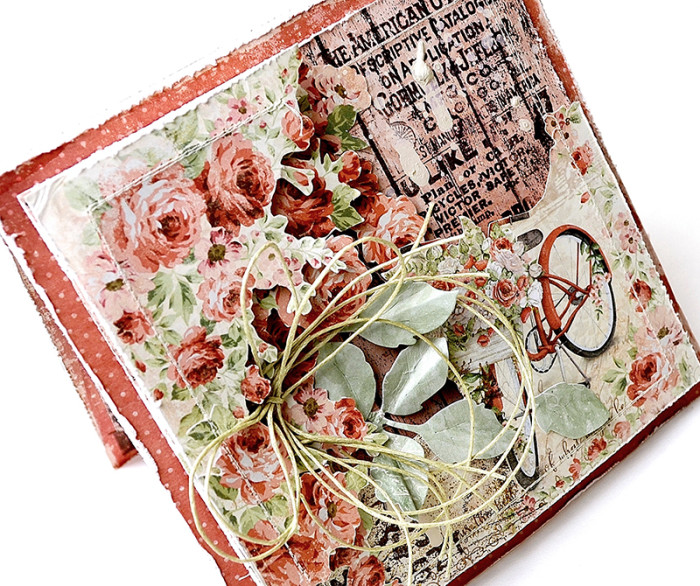
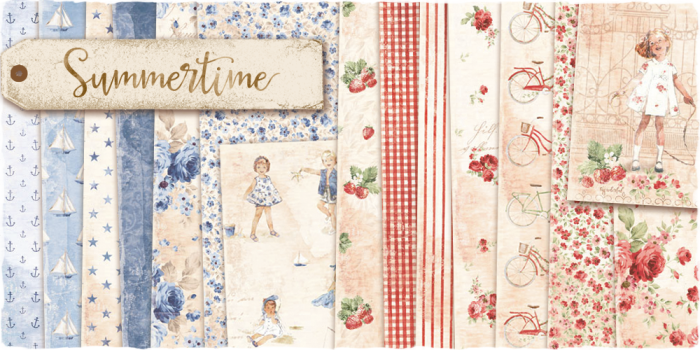
Charleston is a wonderfully preserved Southern colonial city. It is rich in history, boasting breathtaking architecture, quaint cobbled streets, manicured gardens, and cloistered courtyards with teasing glimpses of the lushness within. Maja Design's 'Summertime' papers provide the perfect avenue to transfer what I can to a 6x6 card. I especially love the images of the bicycles in this collection, as this is the preferred manner of transportation for many residents and tourists.

A 12

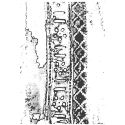
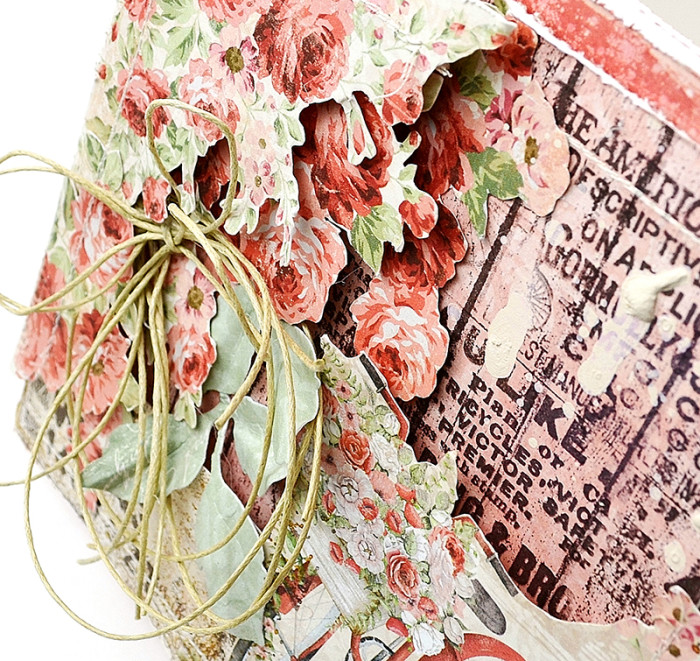
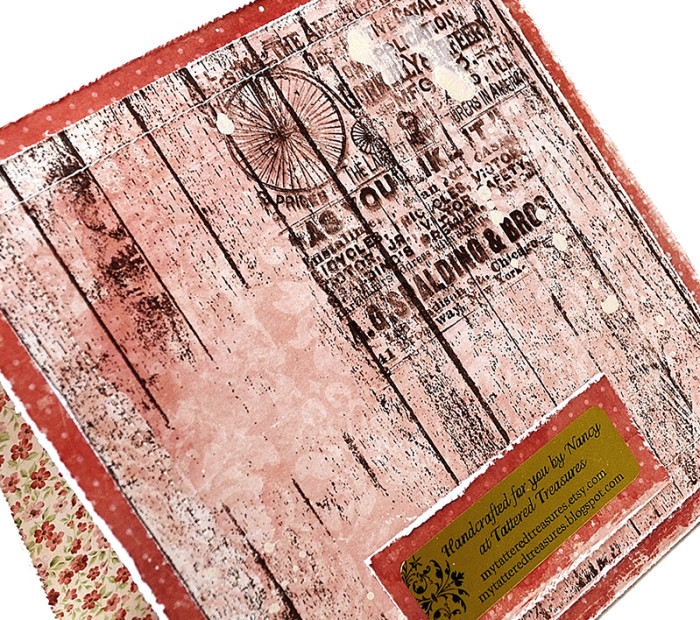
All design papers are distressed, layered, and stitched. Rubber stamping enhances the 'yesteryear' feel of the card. Acrylic paint is randomly splattered for a rustic effect.

A 7

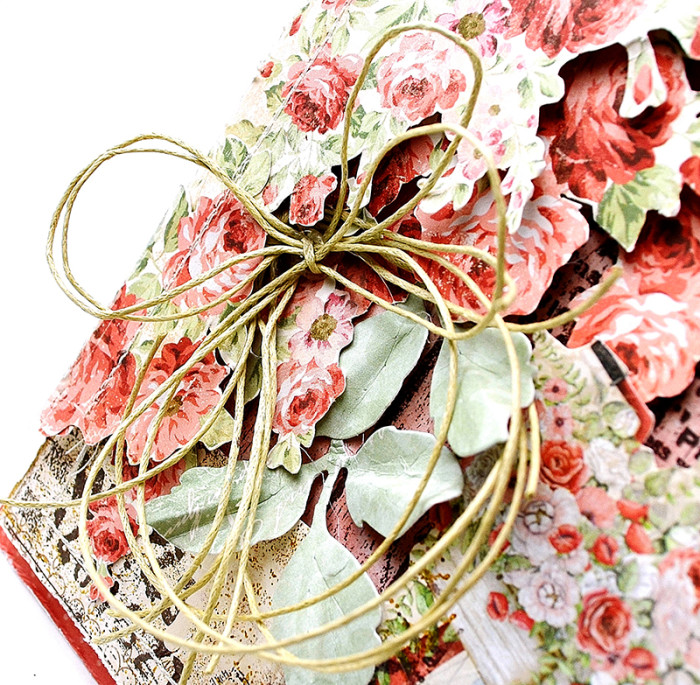
A dimensional garden is achieved by much fussy cutting from the paper collection and detailed layering. Foam adhesive gives each element a 'pop'. You'll find some close ups below.

A 8

A 1

A 11

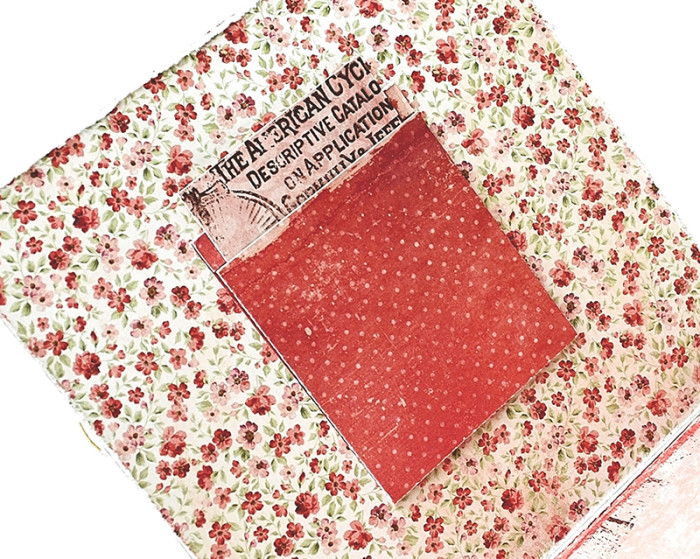
I enjoy coordinating the inside and back of my cards with the design on the front. One of our sweet readers requested photos of this process, which you will find below.

A 2

I also include a little pocket for tucking away a gift card, photo, or note.

A 3

A 4

A 14

Thank you so much for taking a peek at my card! I hope you enjoy Maja Design's enchanting papers as much as I do. I wish you a day filled with all things wonderful, and hope that each person who enters here as a guest will leave as a friend!

Hugs,Nancy-sign

Maja Design Papers Used: 
Summertime-K
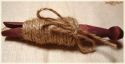
Other Products Used: Magnolia Rose Leaf Die, Stamps: Prima Rust and Dust Cling Set, Impression Obsession Cover-a-Card, Oxford Impressions stamp set; Archival Ink, Detail Scissors, Tim Holtz Distress Tool, Natural Twine, Foam Adhesive, Sewing Machine, Thread.

Did you know Maja Design is on Social Media?

Pinterest: Did you know that Maja Design has a Pinterest Page? You can find it right here.
Facebook: You can follow us on Facebook right here and of course "LIKE" us.
Instagram: Maja also has an Instagram account – majadesigninsweden.
(Use the hashtag #majadesigninsweden or the tag @majadesigninsweden
with your Maja papers so we can find you.)

Friday, August 19, 2016

Friday Focus on Spellbinders!


Hello and welcome to the Friday Focus on Spellbinders! It's Nancy here, with exciting news to share. We're hosting a fabulous event for the next two weeks at The Funkie Junkie BoutiqueAll Spellbinders products will be available at an additional 15% off the already discounted price until September 2nd! 

I adore Spellbinders products. I've been working on a special post featuring their beauty and versatility, but due to illness I wasn't able to complete my photos. Today I'm sharing cards I created a few weeks ago featuring Spellbinders dies. I'll return next Friday with a brand new Spellbinders project and tutorial.  


Thanks so much for visiting. Head on over to The Funkie Junkie Boutique and treat yourself to a few Spellbinders goodies while they last. Wishing you a day filled with happiness and creativity!

Hugs,